Are you looking to give your kitchen cabinets a fresh, new look? One of the most effective ways to transform your cabinets is by giving them a fresh coat of paint. But with so many options available, how do you choose the best paint for cabinets?
In this article, we will explore the factors to consider, types of paint, top brands, and provide a step-by-step guide to help you achieve professional results.
Factors to Consider When Choosing the Best Paint for Cabinets

Before diving into the world of cabinet paint, it’s important to consider a few factors. Firstly, you need to determine the type of material your cabinets are made of. Whether they are wood, laminate, or metal, different surfaces require specific types of paint. Secondly, think about the level of durability and scrubability you need from your cabinet paint. This will depend on the amount of wear and tear your cabinets typically undergo. Finally, consider the color and finish you desire. Cabinets are a focal point in the kitchen, so choose a paint that complements your overall design scheme.
Types of Paint for Cabinets
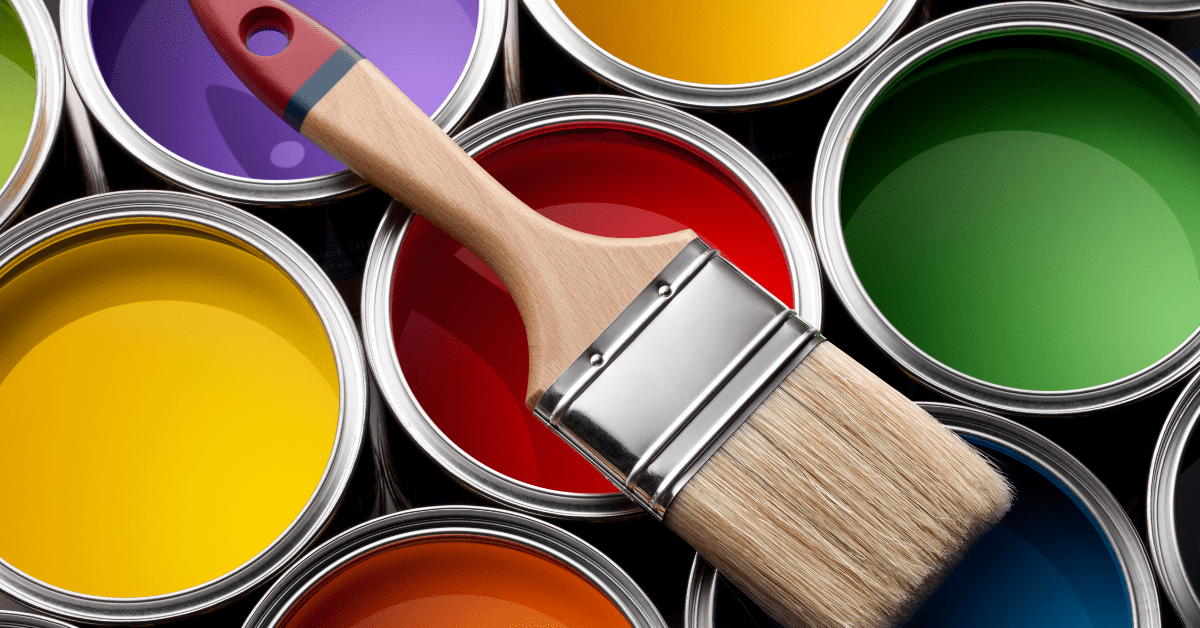
When contemplating a cabinet transformation through paint, navigating the diverse array of paint types is a crucial step in achieving the desired outcome. Each option brings its unique set of characteristics, catering to various preferences and practical considerations.
1. Latex Paint:
- Ease of Use: Latex paint stands out for its user-friendly nature, making it an excellent choice for DIY enthusiasts and beginners. Its water-based composition allows for easy cleanup with soap and water.
- Quick Drying Time: If you’re looking to complete your cabinet project swiftly, latex paint is your ally. It boasts a quick drying time, allowing for efficient progress and reduced downtime in your kitchen or bathroom.
- Minimal Odor: Latex paint is known for its low odor, making it a preferable option for indoor projects. This characteristic ensures a more pleasant painting experience, especially when working in confined spaces.
2. Oil-Based Paint:
- Durability and Hard-Wearing Finish: When durability is paramount, oil-based paint takes the lead. It forms a robust, hard-wearing finish, ideal for cabinets in high-traffic areas subjected to frequent use and potential wear.
- Stain Resistance: Oil-based paint provides enhanced resistance against stains and can withstand regular cleaning, making it a practical choice for kitchen cabinets prone to spills and splatters.
3. Chalk Paint:
- Unique Matte Finish: Chalk paint introduces a distinct matte finish to cabinets, creating a rustic or vintage aesthetic. This type of paint often requires minimal surface preparation, making it a favorite for those seeking a more relaxed approach to cabinet revitalization.
- Artistic Flexibility: Chalk paint offers a creative avenue for customization. It can be distressed or layered to achieve unique textures and finishes, allowing homeowners to express their artistic flair through cabinet design.
Top Brands for Cabinet Paint
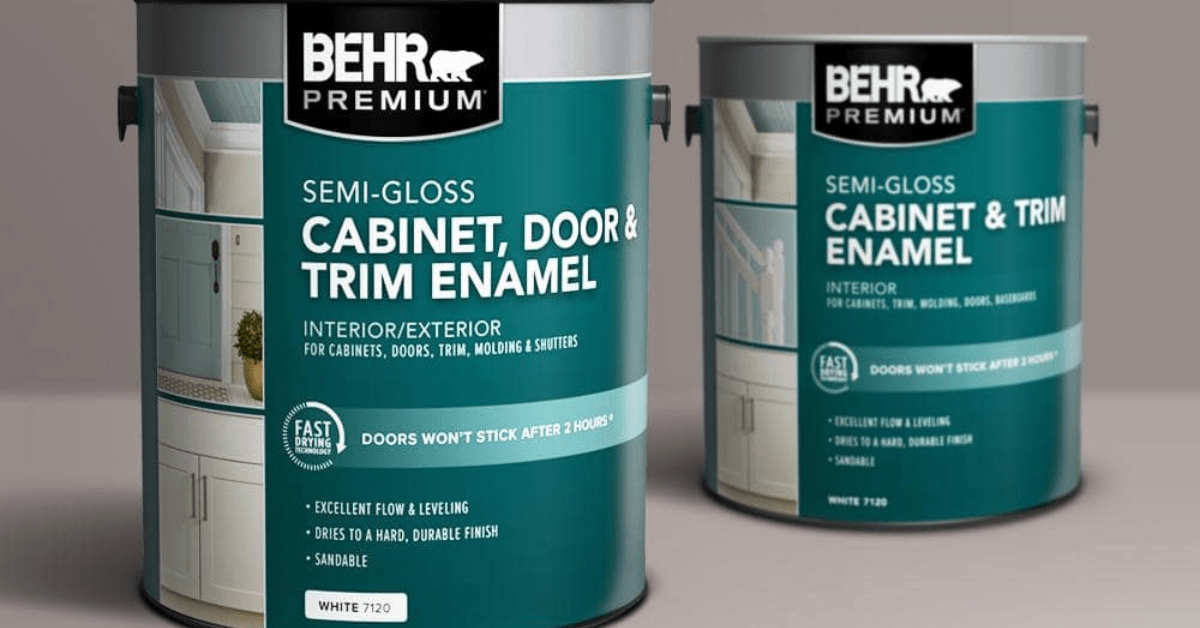
To ensure a successful cabinet painting project, it’s essential to choose a high-quality paint from a reputable brand. Some top brands known for their cabinet paints include Behr, Sherwin-Williams, Benjamin Moore, and Valspar. These brands offer a wide range of colors, finishes, and specialized paints designed specifically for cabinets. By choosing a trusted brand, you can be confident in the longevity and performance of your painted cabinets.
Preparing Cabinets for Painting
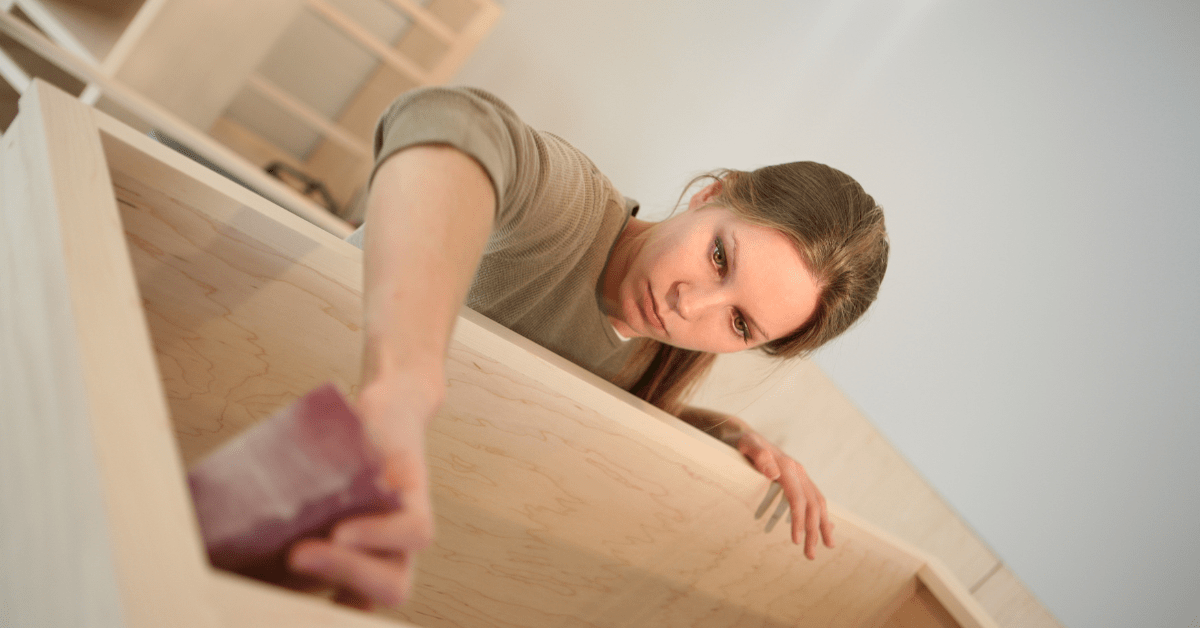
Proper preparation is key to achieving a flawless finish when painting cabinets. Start by removing all cabinet doors and hardware. Clean the surfaces thoroughly to remove any grease, dirt, or residue. Sand the cabinets using medium-grit sandpaper to create a smooth surface for the paint to adhere to. Fill any dents, scratches, or imperfections with wood filler and sand them again. Finally, apply a primer to ensure proper adhesion and help the paint last longer.
Step-by-Step Guide to Painting Cabinets
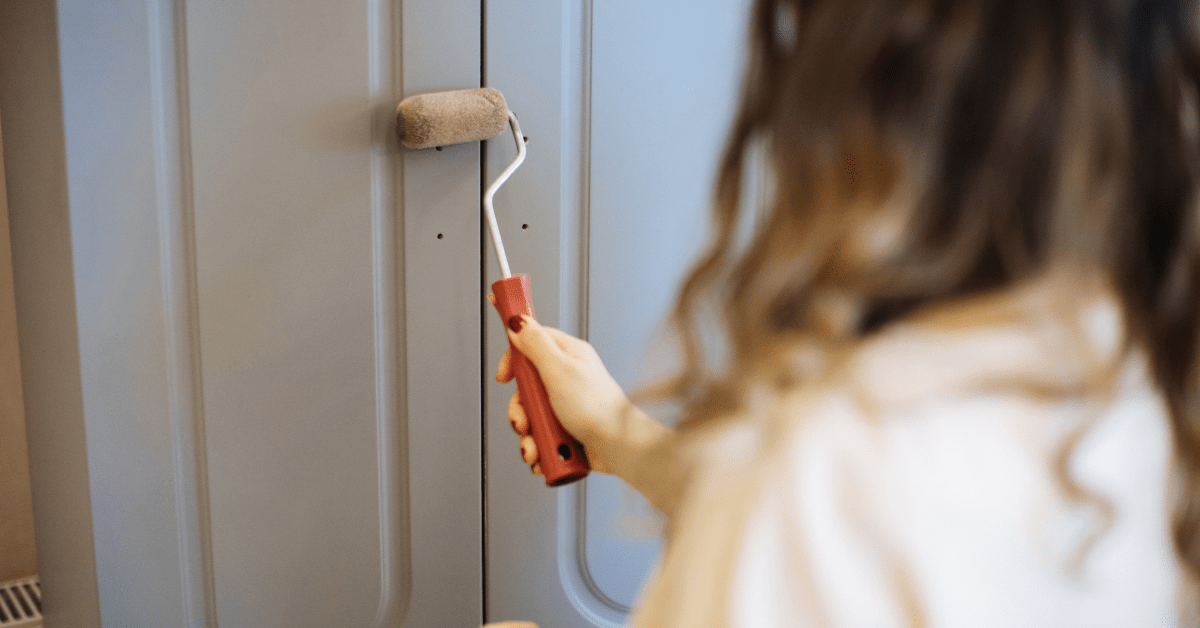
With your cabinets meticulously prepped for their makeover, it’s time to embark on the painting process. Follow this step-by-step guide to ensure a smooth, professional finish that breathes new life into your space.
1. Application of the First Coat:
- Choose Your Tools: Opt for a high-quality brush or roller to apply the paint. A brush is ideal for detailed work and reaching into crevices, while a roller ensures a smooth finish on larger, flat surfaces.
- Thin and Even Application: Begin by applying a thin coat of paint, working methodically in small sections. This approach ensures even coverage and minimizes the risk of drips or uneven drying.
- Consider Cabinet Style: If your cabinets have recessed panels or intricate details, start by painting these areas first. Follow the natural lines of the woodwork to achieve a polished result.
2. Light Sanding for Smoothness:
- Wait for Drying: Allow the first coat of paint to dry thoroughly before proceeding. Refer to the paint can for recommended drying times.
- Lightly Sanding Imperfections: Once dry, lightly sand the cabinets using fine-grit sandpaper. This step smooths out any imperfections, ensuring a flawless base for the next coat. Focus on areas that may have accumulated dust or uneven textures.
3. Application of the Second Coat:
- Repeat the Process: Apply a second coat of paint following the same method as the first. This additional layer enhances color depth and provides added durability.
- Ensure Complete Drying: Allow the second coat to dry completely before assessing the finish. Depending on the type of paint used, this may take several hours to overnight.
4. Reattach Cabinet Doors and Hardware:
- Patient Reassembly: Exercise patience as you reattach the cabinet doors and hardware. Ensure each piece is properly aligned and securely fastened.
- Check for Smooth Operation: Before considering the project complete, open and close each cabinet door to verify smooth operation. Make any necessary adjustments to hinges or closures for optimal functionality.
5. Step Back and Admire:
- Assess the Transformation: Step back and admire the transformation. Take note of how the freshly painted cabinets contribute to the overall aesthetic of the room.
- Evaluate for Touch-Ups: If needed, inspect the cabinets for any areas that may require touch-ups. This could involve addressing uneven paint application or refining edges.
Maintenance Tips:
- Gentle Cleaning: Wait a few weeks before subjecting your freshly painted cabinets to rigorous cleaning. When you do, use a gentle cleanser to preserve the integrity of the paint.
- Regular Inspections: Periodically inspect your cabinets for signs of wear or damage. Promptly addressing any issues can extend the longevity of your newly painted surfaces.
Tips for Achieving a Professional Finish
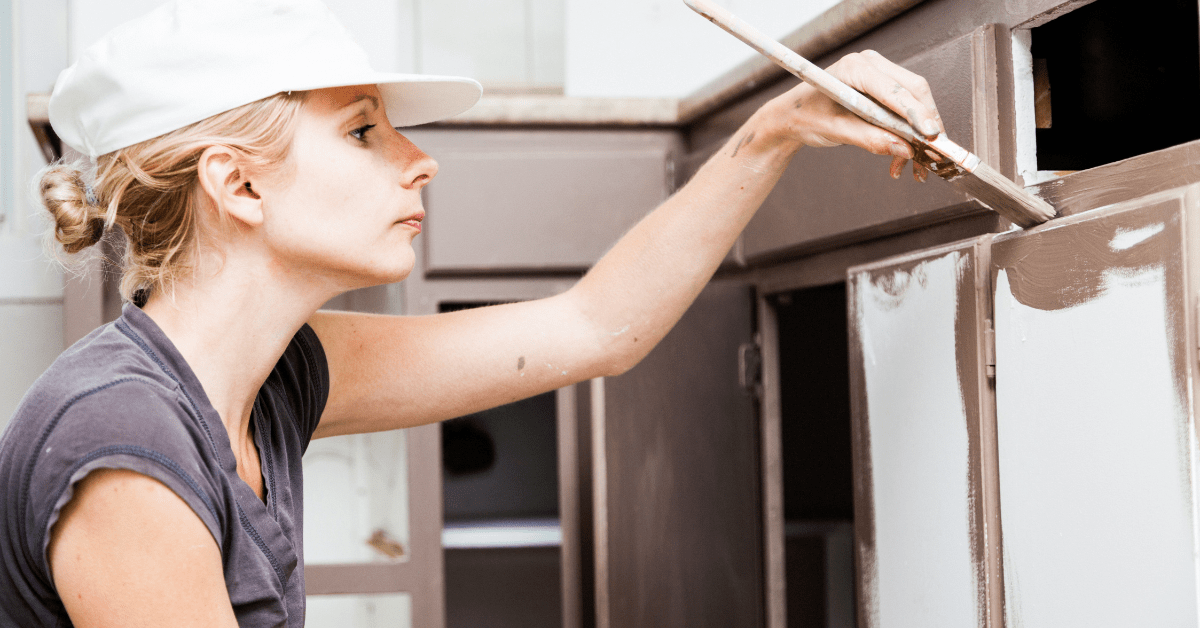
To take your cabinet painting project to the next level, here are a few expert tips. Firstly, use a brush for detailed areas and a roller for larger surfaces to achieve a smooth finish. Secondly, be patient and allow each coat of paint to dry fully before applying the next. This will prevent smudging and ensure a professional-looking result. Thirdly, consider using a paint sprayer for a flawless, brushstroke-free finish. However, be sure to follow the manufacturer’s instructions and practice on a test surface before tackling your cabinets.
Common Mistakes to Avoid when Painting Cabinets
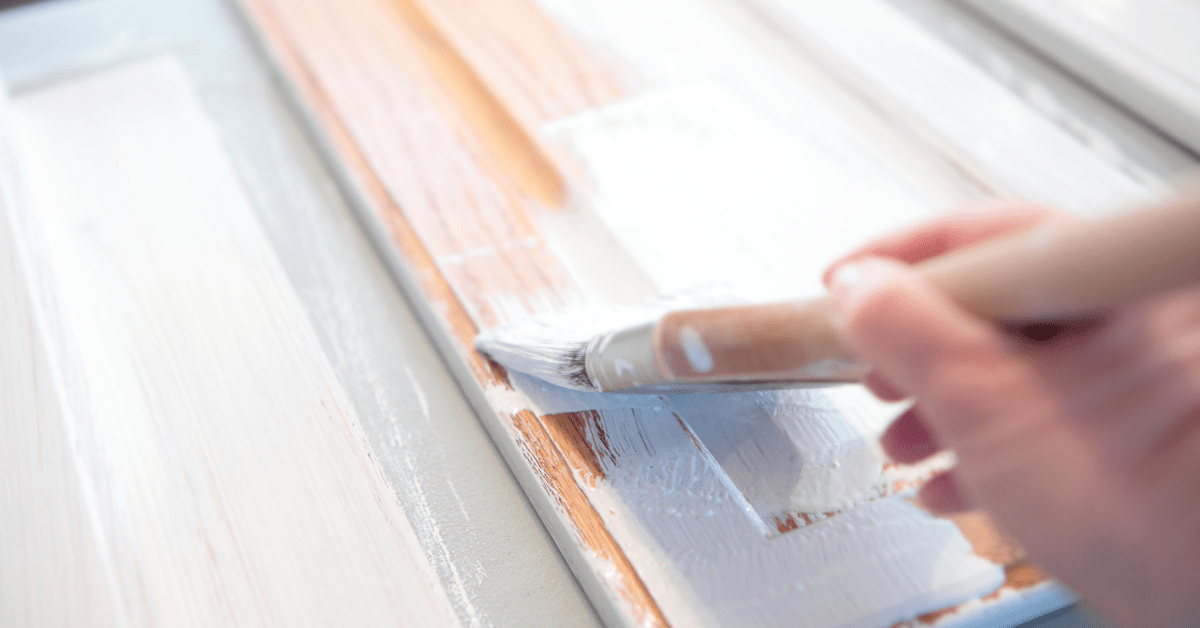
While painting cabinets can be a rewarding DIY project, there are some common mistakes to avoid. One of the most common mistakes is rushing the process. Proper preparation and multiple coats of paint are essential for a durable and long-lasting finish. Another mistake is neglecting to use a high-quality brush or roller. Cheap tools can leave visible brushstrokes or result in an uneven finish. Finally, avoid applying thick coats of paint, as they can lead to drips, uneven drying, and an unprofessional appearance.
Maintenance and Care for Painted Cabinets
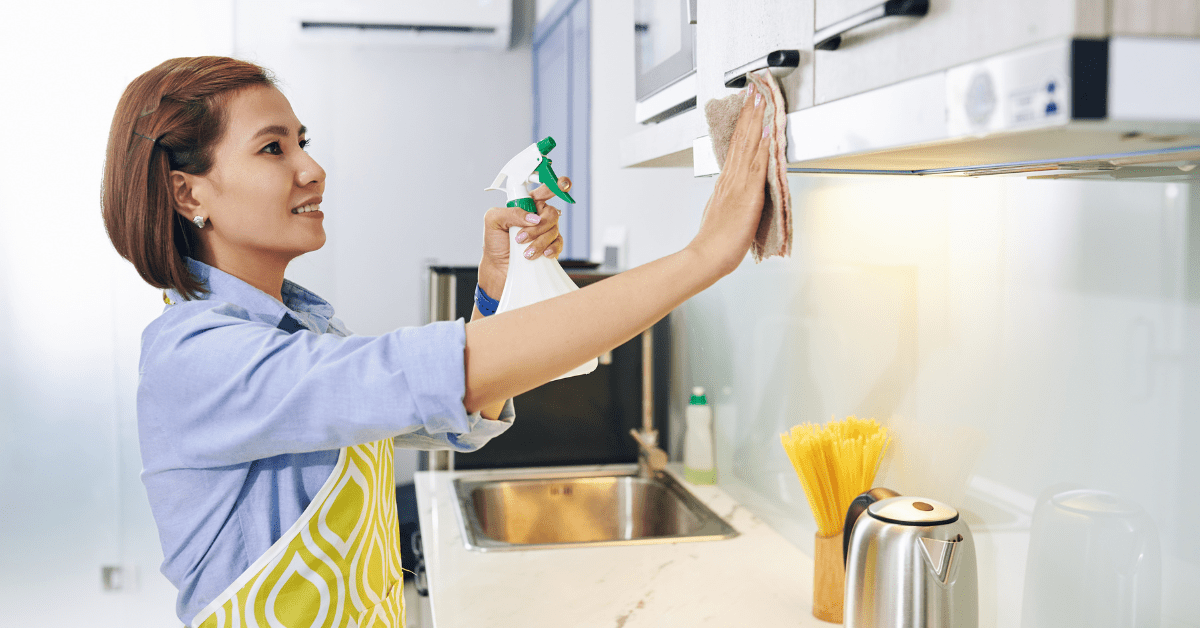
Once your cabinets are beautifully painted, it’s important to maintain and care for them properly. Avoid using harsh chemicals or abrasive cleaners that can damage the paint. Instead, use a mild soap and water solution or a non-abrasive cleaner specifically formulated for painted surfaces. Regularly wipe down the cabinets to remove any spills or splatters. If your cabinets experience heavy use or high humidity, consider applying a clear protective topcoat to enhance durability.
Frequently Asked Questions About Cabinet Paint
1. Can I paint cabinets without sanding?
While sanding is recommended for optimal adhesion and a smooth finish, some paints, such as chalk paint, can be applied without sanding. However, keep in mind that sanding helps the paint adhere better and provides a more professional result.
2. How long does cabinet paint take to dry?
Drying times can vary depending on the type of paint and environmental conditions. Generally, latex paint dries to the touch within a few hours, but it’s best to wait at least 24 hours before applying a second coat or reattaching doors and hardware.
3. Can I change the color of my cabinets without stripping them?
Yes, you can change the color of your cabinets without stripping them by using a paint specifically formulated for cabinets. Ensure proper surface preparation and apply multiple coats for the best results.
Read more from us:
- Painting it Bright: 25 Colorful Kitchen Island Ideas to Enliven Your Home
- 24 Black Kitchen Cabinet Ideas For a Moody Space
- Why White Cabinets Will Never Go Out Of Style
Choosing the best paint for your cabinets is a crucial step in achieving a fresh and updated kitchen look. Consider factors such as material, durability, and color when making your selection. Properly preparing your cabinets and following a step-by-step painting process will ensure a professional finish. Remember to avoid common mistakes, maintain your painted cabinets correctly, and seek the assistance of a professional if needed. With the right paint and technique, your cabinets will become the centerpiece of your kitchen and a source of pride for years to come.
You're reading Painting Possibilities: The Best Cabinet Paint Options, originally posted on Decoist. If you enjoyed this post, be sure to follow Decoist on Twitter, Facebook and Pinterest.
from decoist https://ift.tt/LiCsoVP




0 comments: