We’re in the final countdown to Christmas! If you’re wanting to take your holiday decor up a notch or two, today’s post will show you how to give your garlands and wreaths a quick makeover. Not only are these greenery upgrades affordable, they’re perfect for transitioning your Christmas decorations into New Year’s Eve decor. By starting with basic holiday greenery (from the green to the frosted), you can have a designer look in no time. Feel free to choose faux greenery so you can reuse your decor next year! Keep reading for all of the hassle-free DIY details…


*Photos and styling by Kate Simmons
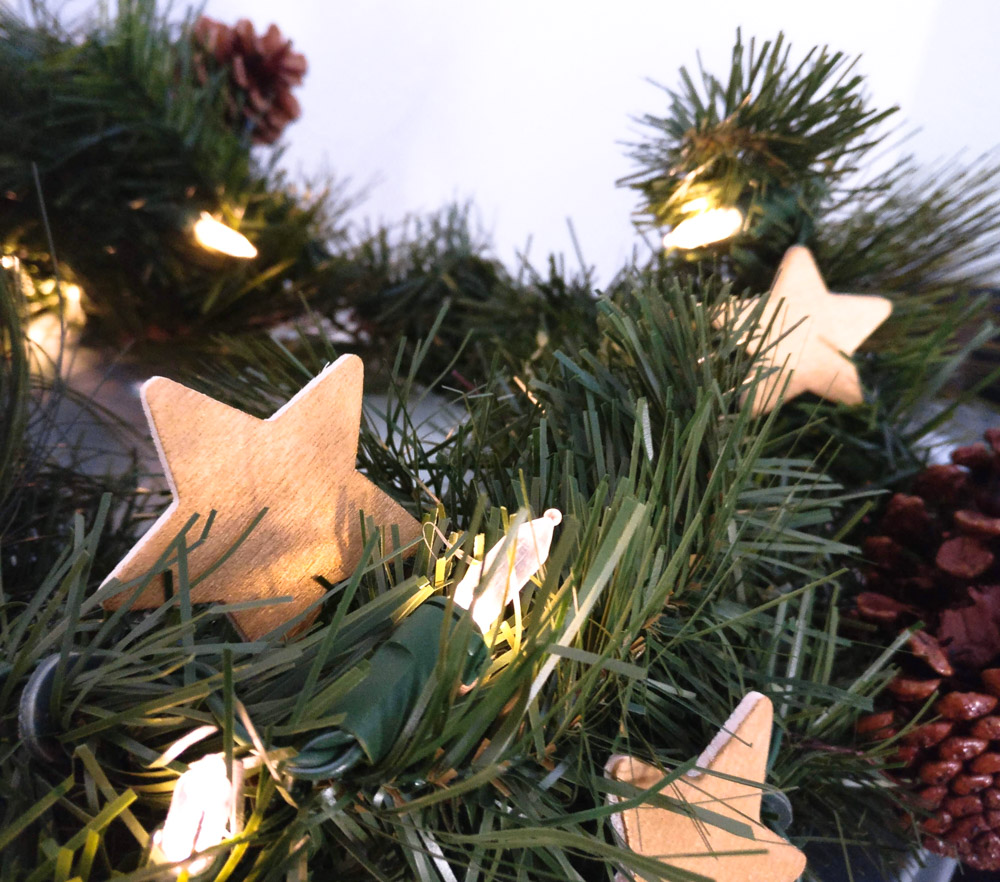
Gold Star Garland
This first holiday greenery upgrade gives a nod to Scandinavian style. There’s something so whimsical about gold stars. When they’re wooden, the result is an earthy, modern look that beautifully complements the greenery of your choice!

Start with wooden craft stars. I ordered these from JOANN for a mere $4.99 a bag:

Paint your stars gold, or leave them untouched for a rustic look. Keep in mind that even painting them a “fancy” color like gold doesn’t strip them of their simplicity and charm, especially if you leave the edges unfinished:

Display your stars by tucking them into your holiday garland. If you don’t have a garland, rest assured there are some very affordable options out there (many of them pre-lit)! A dab of hot glue will secure the stars in place if need be. Avoid gluing them to wires or lights if your garland features lighting.
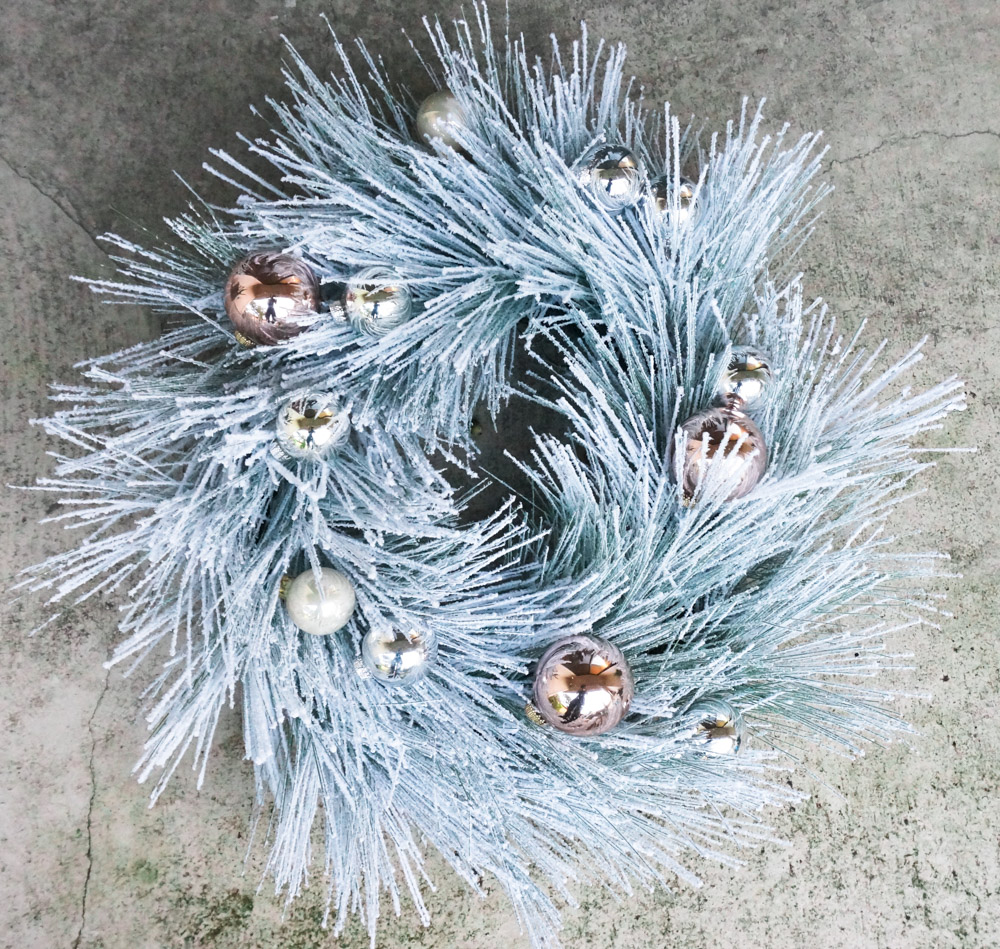
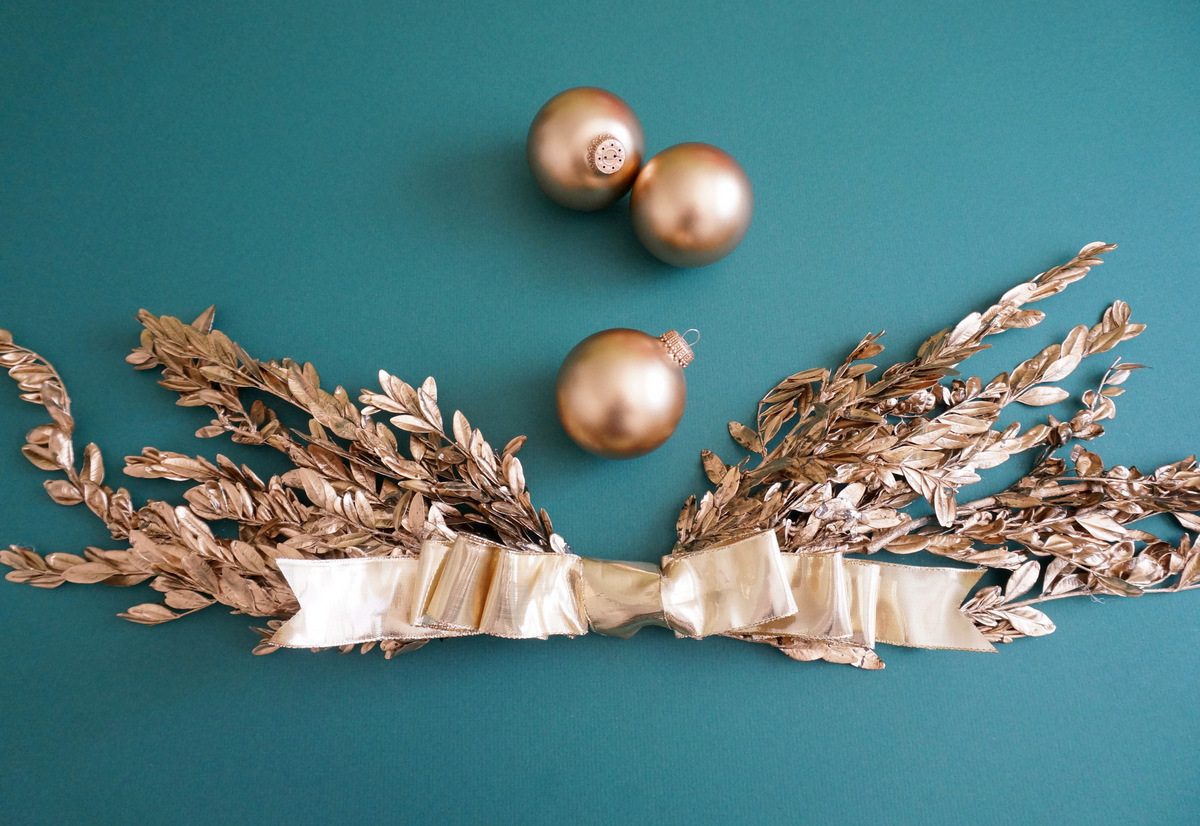
Metallic Ornament Wreath
This next greenery upgrade idea involves metallic ball ornaments in various sizes. You can go with the budget-friendly ornaments you’ll find at most craft stores in boxed sets, or you can opt for more ornate selections. The choice is yours! Bonus points if you incorporate a range of hues (from silver to rose gold). In fact, it’s precisely this variety in tone that creates an upscale monochromatic look.

As you can see from the image below, metallic ornaments bring flocked greenery to life. Note how ornaments in rose gold, silver and pearl enhance a lovely artificial pine wreath from CB2:

It’s that easy! Simply secure the ball ornaments to the wreath (we tied ours with string), and you’re set.
Will you be taking your holiday greenery to new heights this year? You don’t have to break the bank to get a high-end look. The magic is in the details! Happy Holidays!
You're reading 2 Easy Ways to Dress Up Holiday Greenery, originally posted on Decoist. If you enjoyed this post, be sure to follow Decoist on Twitter, Facebook and Pinterest.
from Decoist http://bit.ly/2PZS7bX


0 comments: